How-to Guides

Task-shaped walkthroughs for every RuneSpoke Hub surface. Each guide is a short, numbered recipe. Jump to a category below, or read the whole page top to bottom.

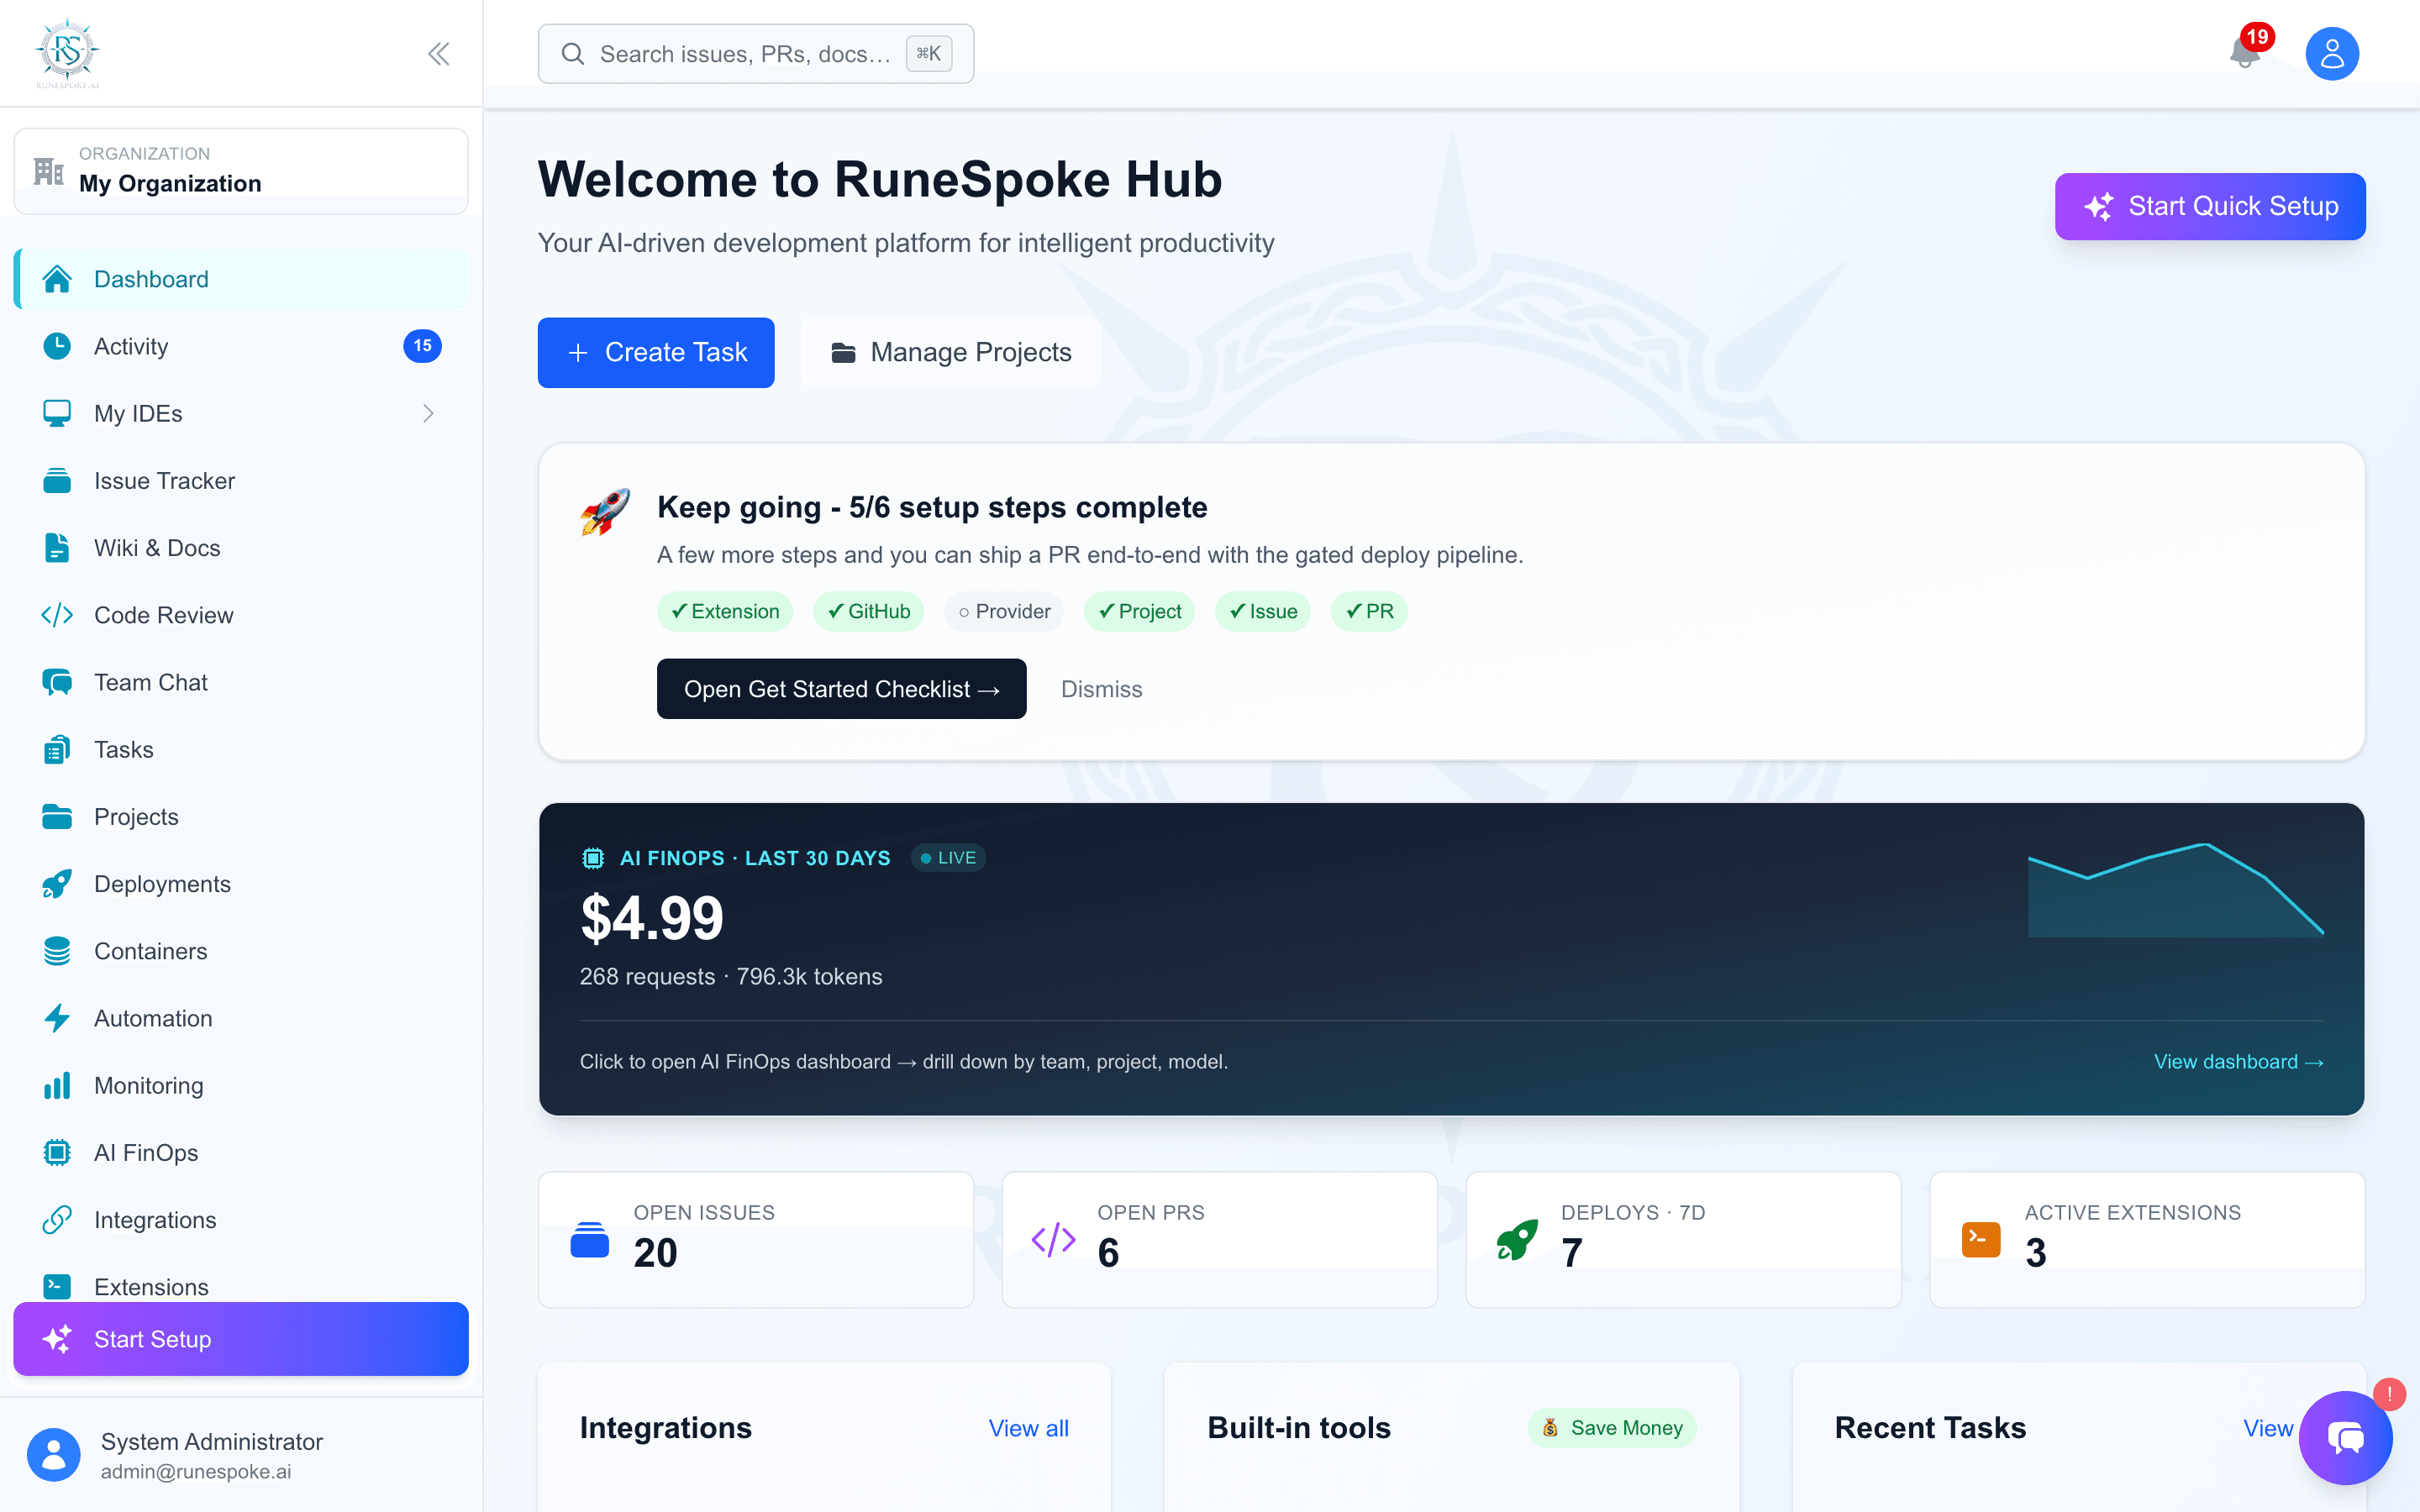
RuneSpoke dashboard

Ship pipeline

The end-to-end flow for shipping code to production.

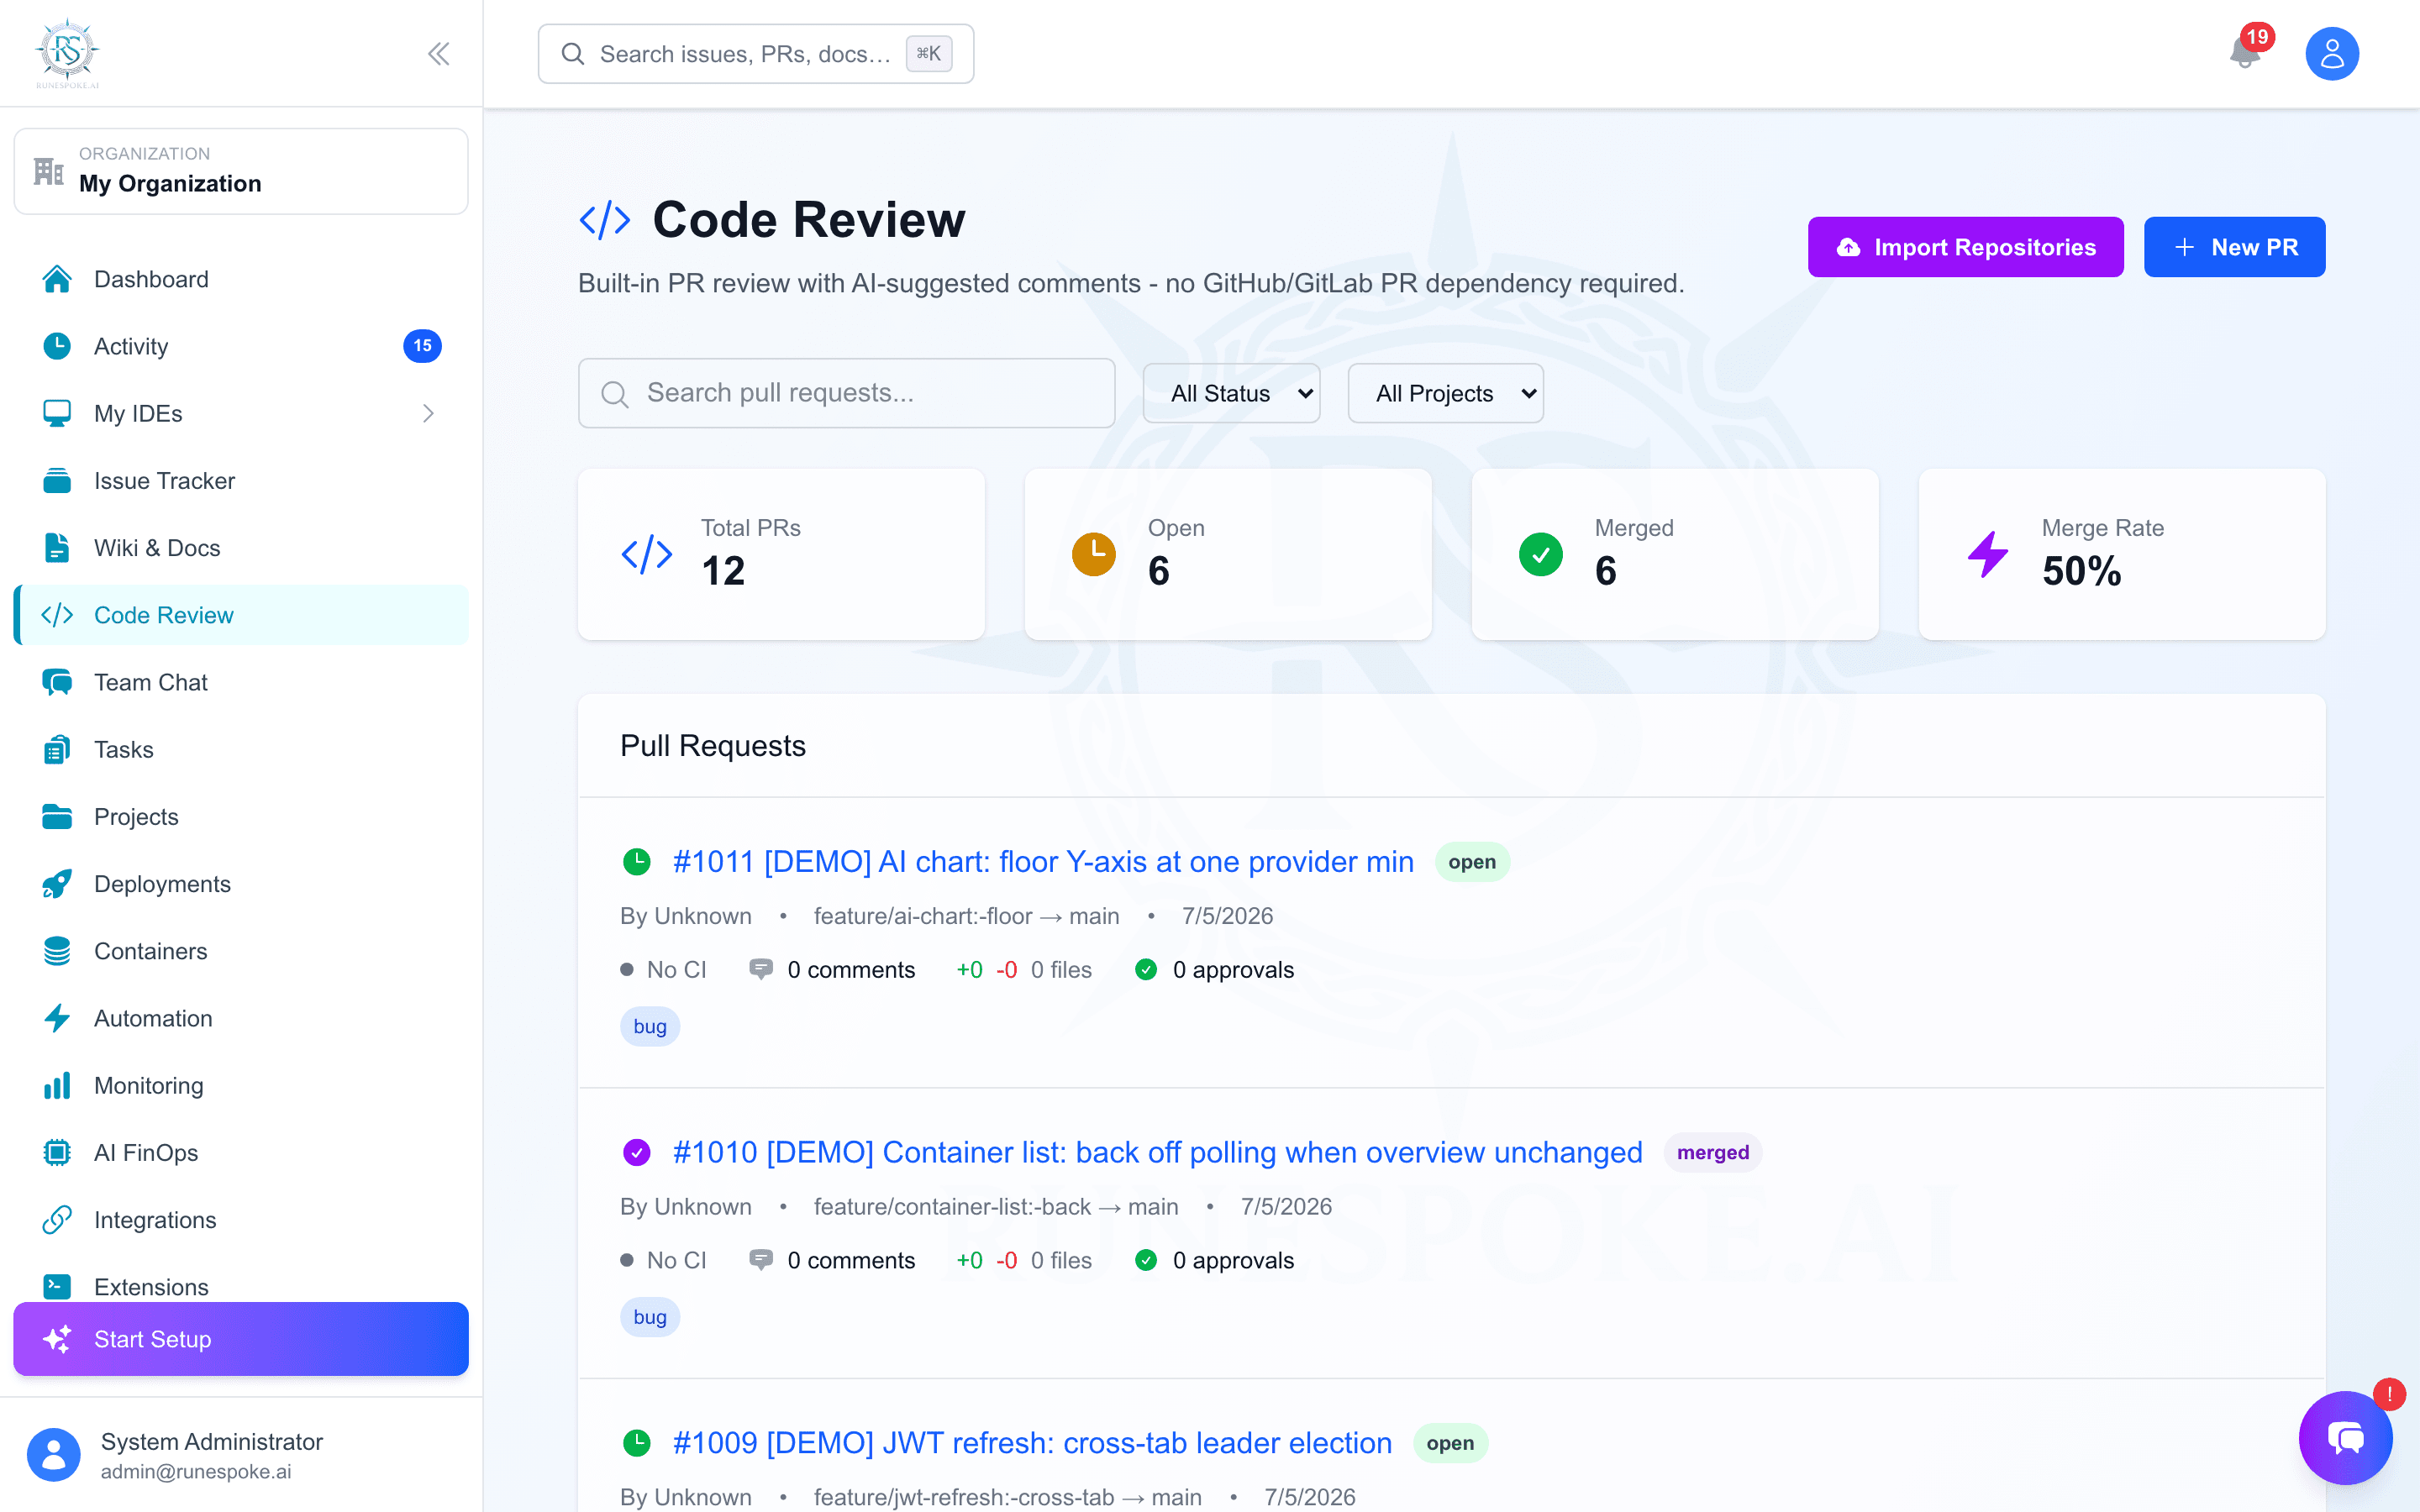
Code Review

Ship a PR end-to-end

The full loop from a tracked issue to a deployed change, with the approval and CI gates in between.

  1. Open the Issue Tracker and create an issue for the work, optionally scoping it to a project.
  2. Create a branch and push your commits to GitHub as usual.
  3. In RuneReview (Code Review), open a pull request against the branch, or sync an existing GitHub PR.
  4. Request reviewers. Each reviewer submits Approved, Changes requested, or Commented.
  5. Merge once the gate clears: enough approvals, no outstanding change requests, and green CI.
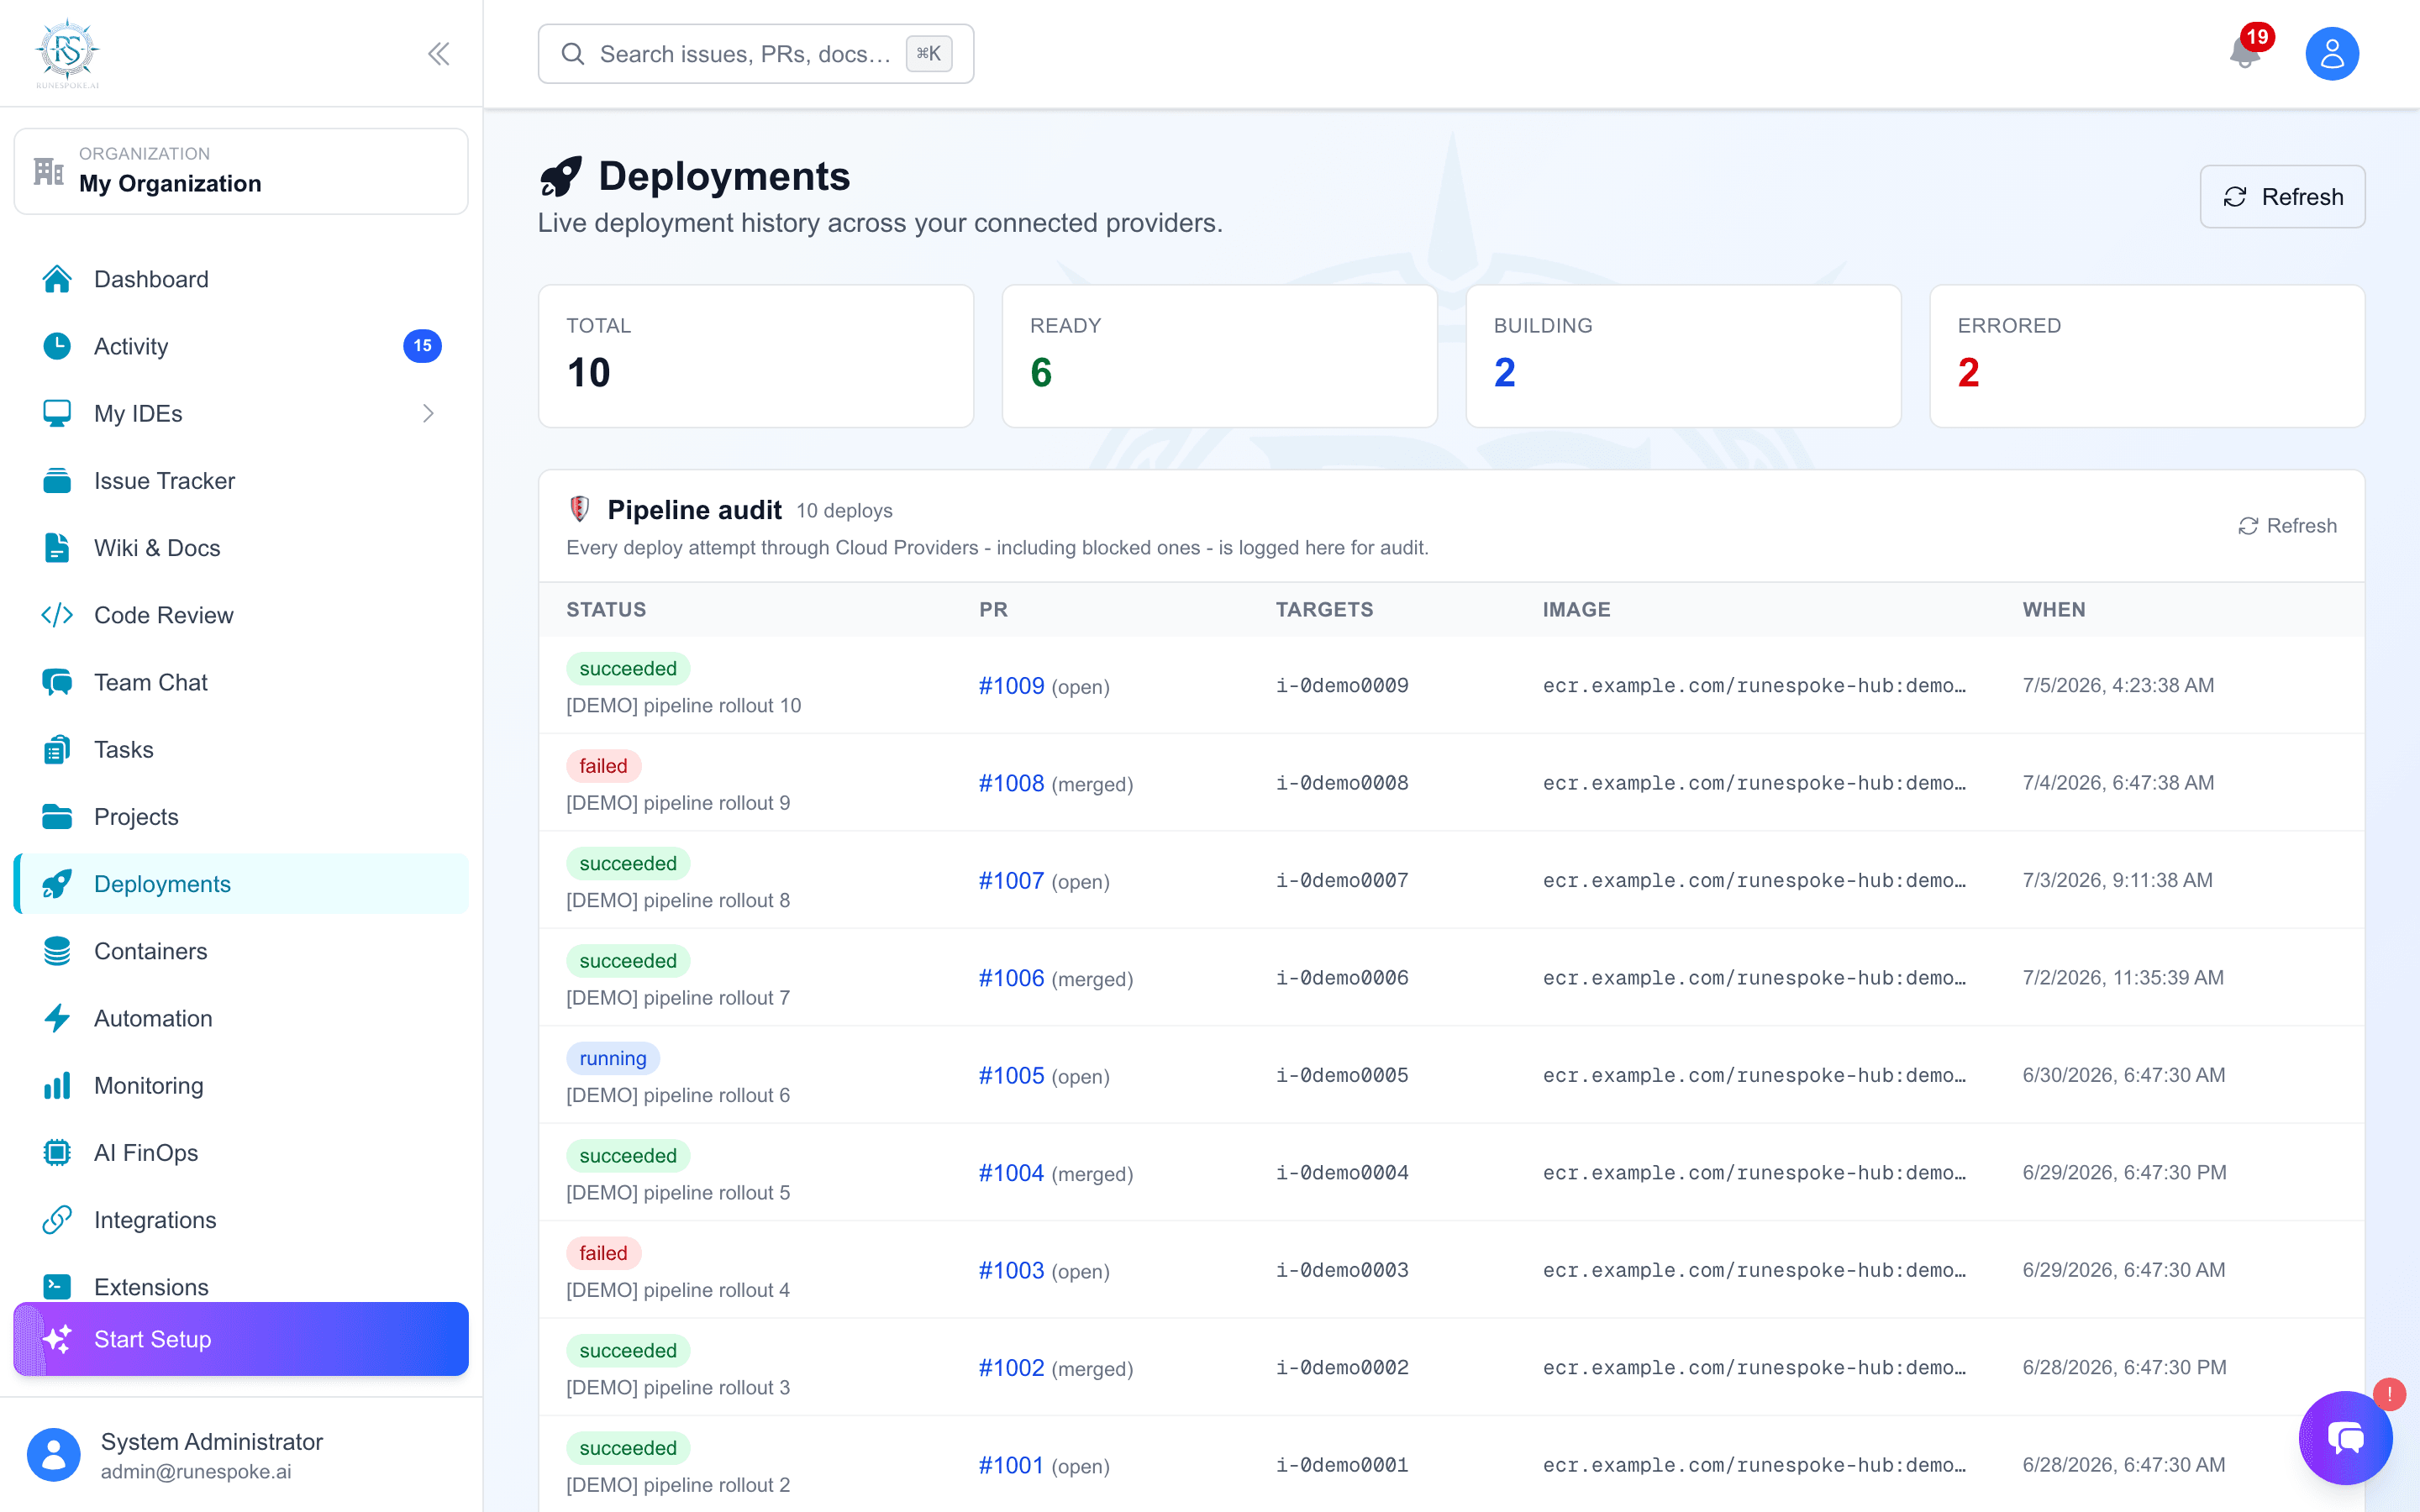
  6. Trigger a deploy from Cloud Providers or Deployments. The deploy gate confirms the change ships from a merged PR.

CI checks on PRs

RuneSpoke pulls GitHub check-runs and the combined commit status through to the merge button so red CI blocks the merge.

  1. Set the GitHub URL on the pull request so RuneSpoke knows which commit to read.
  2. Click Sync from GitHub. RuneSpoke fetches both the Check Runs API (GitHub Actions and app checks) and the Combined Status API (legacy statuses).
  3. The results roll up worst-case-wins: any failure shows failure, any in-progress shows pending, otherwise success.
  4. The merge button stays disabled while CI is failure or pending on a PR that has a GitHub URL.
  5. Re-sync after a new push to refresh the status for the latest commit.

Force-merge override

For emergencies, an admin can bypass the approval and CI gate. Every override is recorded.

  1. Confirm the merge is genuinely blocked (missing approvals, outstanding change requests, or red CI).
  2. As an admin, choose the force-merge option on the pull request.
  3. The merge proceeds despite the open blockers.
  4. The override is written to the Audit Log with who did it and when, so the bypass is always attributable.

Roll back a deploy

A rollback re-deploys the previous known-good image tag over the same AWS SSM pipeline as a normal deploy.

  1. Open Cloud Providers and select the connection whose deploy you want to reverse.
  2. Choose Rollback. RuneSpoke targets the prior image tag that was last deployed successfully.
  3. The rollback runs as an SSM Send-Command against the target instance, the same path a forward deploy uses.
  4. Watch the live status until it reports succeeded, then verify the app health.
  5. The rollback is captured in the Audit Log alongside the original deploy.

AWS & infrastructure

How RuneSpoke deploys to your own AWS account and reads its metrics.

Deployments pipeline

Connect AWS

Connect your AWS account with an access key pair, verify it, then register the EC2 instance you want to deploy to.

  1. In Cloud Providers, add an AWS connection and paste an Access Key ID and Secret Access Key. They are encrypted at rest in the credentials vault.
  2. RuneSpoke verifies the credentials with an STS GetCallerIdentity probe before saving.
  3. Attach an IAM policy that allows the SSM, EC2, and CloudWatch actions RuneSpoke needs.
  4. On the target EC2 instance, install the SSM agent and attach the AmazonSSMManagedInstanceCore role.
  5. Tag the instance RuneSpoke:Deploy=true so it becomes an eligible deploy target.
  6. Refresh resources to inventory the account (EC2, S3, RDS, Lambda).

How a deploy works

A walkthrough of what happens between clicking Deploy and the app being live. Read this when troubleshooting.

  1. Gate check: the pipeline confirms the change comes from a merged PR with the required approvals and no unresolved change requests.
  2. Optional pre-deploy tests run on the target instance. A non-zero exit blocks a production deploy.
  3. Optional human approval hold pauses the deploy until an authorized user approves it.
  4. Deploy: RuneSpoke issues an SSM Send-Command to the target. No SSH keys and no inbound ports are needed.
  5. RuneSpoke polls the command until it reports succeeded or failed, streaming status to the deploy panel.
  6. A post-deploy health check can auto-roll-back on failure, and the whole run lands in the Audit Log.

CloudWatch monitoring

Read live CloudWatch metrics for a connected AWS account without leaving RuneSpoke.

  1. Open Cloud Providers and select an AWS connection.
  2. Switch to the Metrics tab.
  3. View CPU, memory, network, and request-count charts pulled from CloudWatch for that connection.
  4. Use the Logs tab to browse or tail CloudWatch Logs groups for the same account.

AWS SES for email

Transactional email (like user invites) is sent through AWS SES using the SES v2 SDK.

  1. Verify your sending domain or address in AWS SES.
  2. Move the account out of the SES sandbox if you need to email unverified recipients.
  3. Provide the SES sending credentials and region to RuneSpoke.
  4. RuneSpoke sends invite and notification email through SES on your behalf.

Issues, PRs, projects

The work-tracking surface: Linear-style issues, RuneReview PRs, and project scoping.

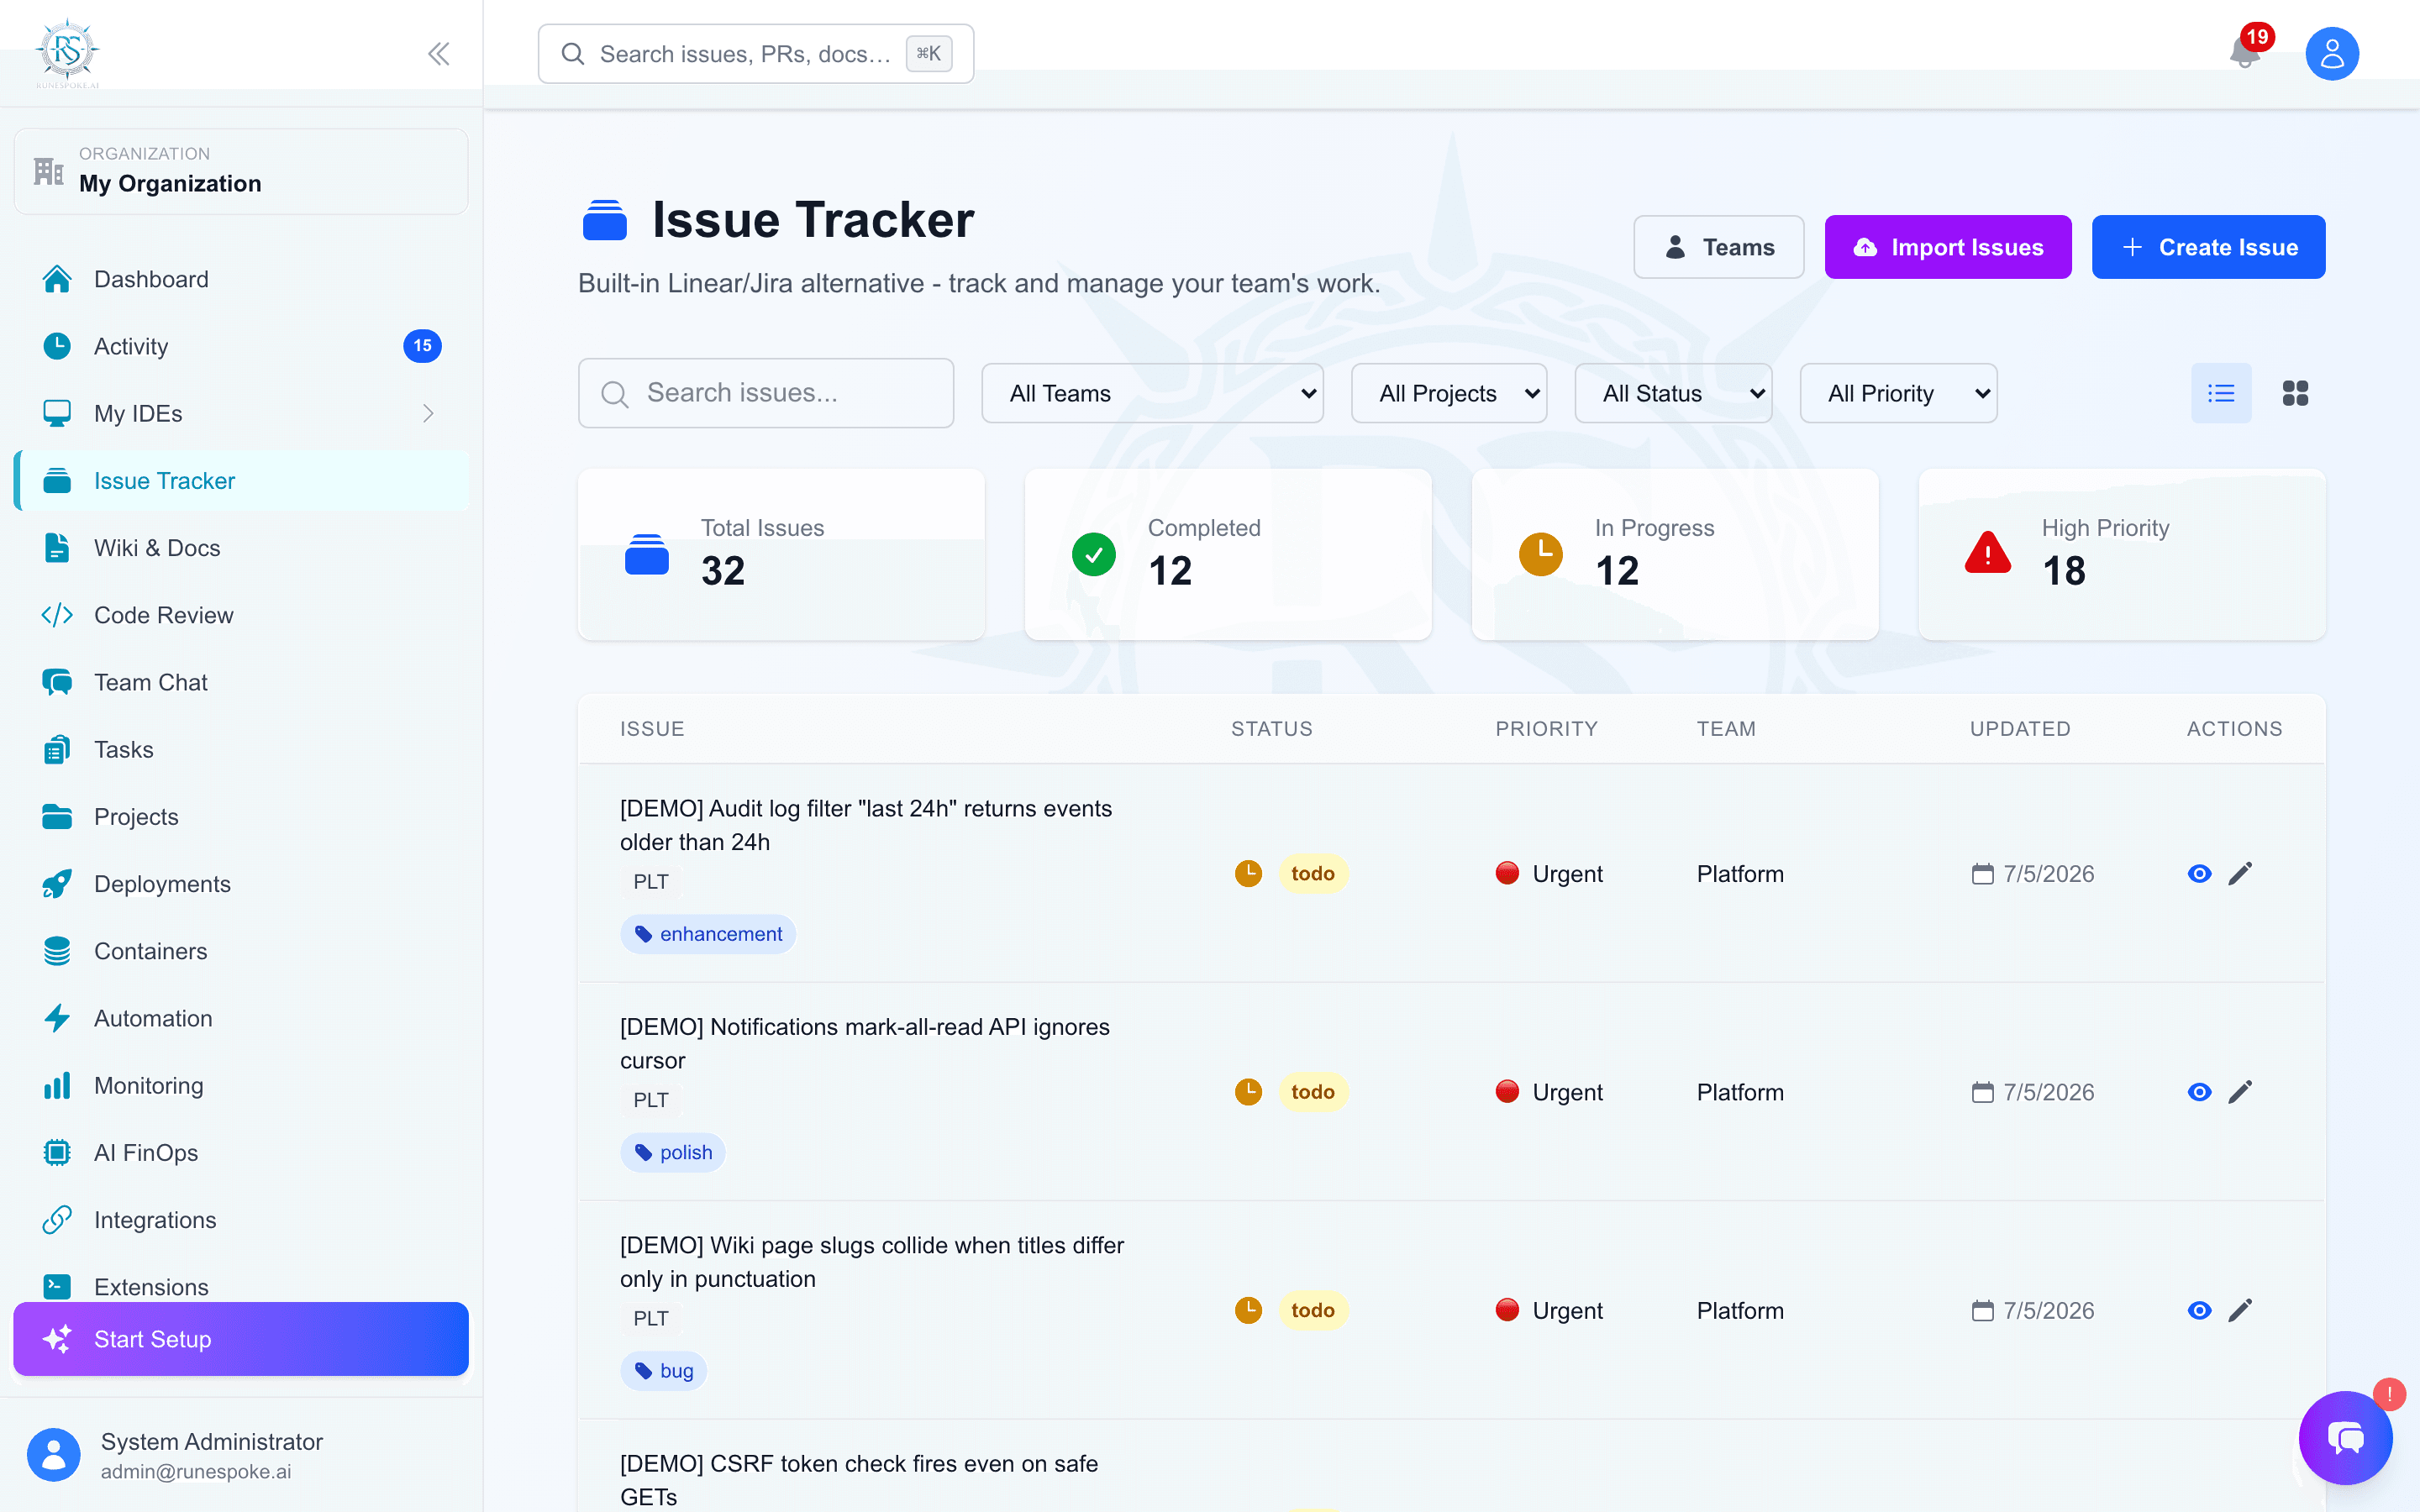
Issue Tracker

Project scoping

Tie issues, PRs, and wiki pages to a project so each app has its own pipeline and rollups.

  1. Open Projects and create a project, optionally with its repository URL.
  2. When creating an issue or PR, pick the project from the project selector.
  3. Filter the Issue Tracker and Code Review lists by project to see only that app.
  4. Read the per-project summary for open issues, open PRs, and recent deploys.
  5. Items left unscoped stay global; deleting a project simply unscopes its items rather than deleting them.

Team membership

Set up teams in the Issue Tracker and manage who belongs to each.

  1. In the Issue Tracker, create a team.
  2. Add members to the team from the user list.
  3. Assign issues to a team so work routes to the right group.
  4. Remove members when they move off the team.

GitHub to RuneSpoke issue mirror

Auto-create a RuneSpoke issue whenever a GitHub issue is opened, using a webhook.

  1. Connect GitHub via one-button OAuth (or the GitHub App).
  2. In your GitHub repository settings, add a webhook pointing at the RuneSpoke issues endpoint.
  3. Subscribe the webhook to the Issues event.
  4. Open a GitHub issue to confirm a matching RuneSpoke issue appears in the Issue Tracker.

Wiki & docs

Markdown documentation with full version history.

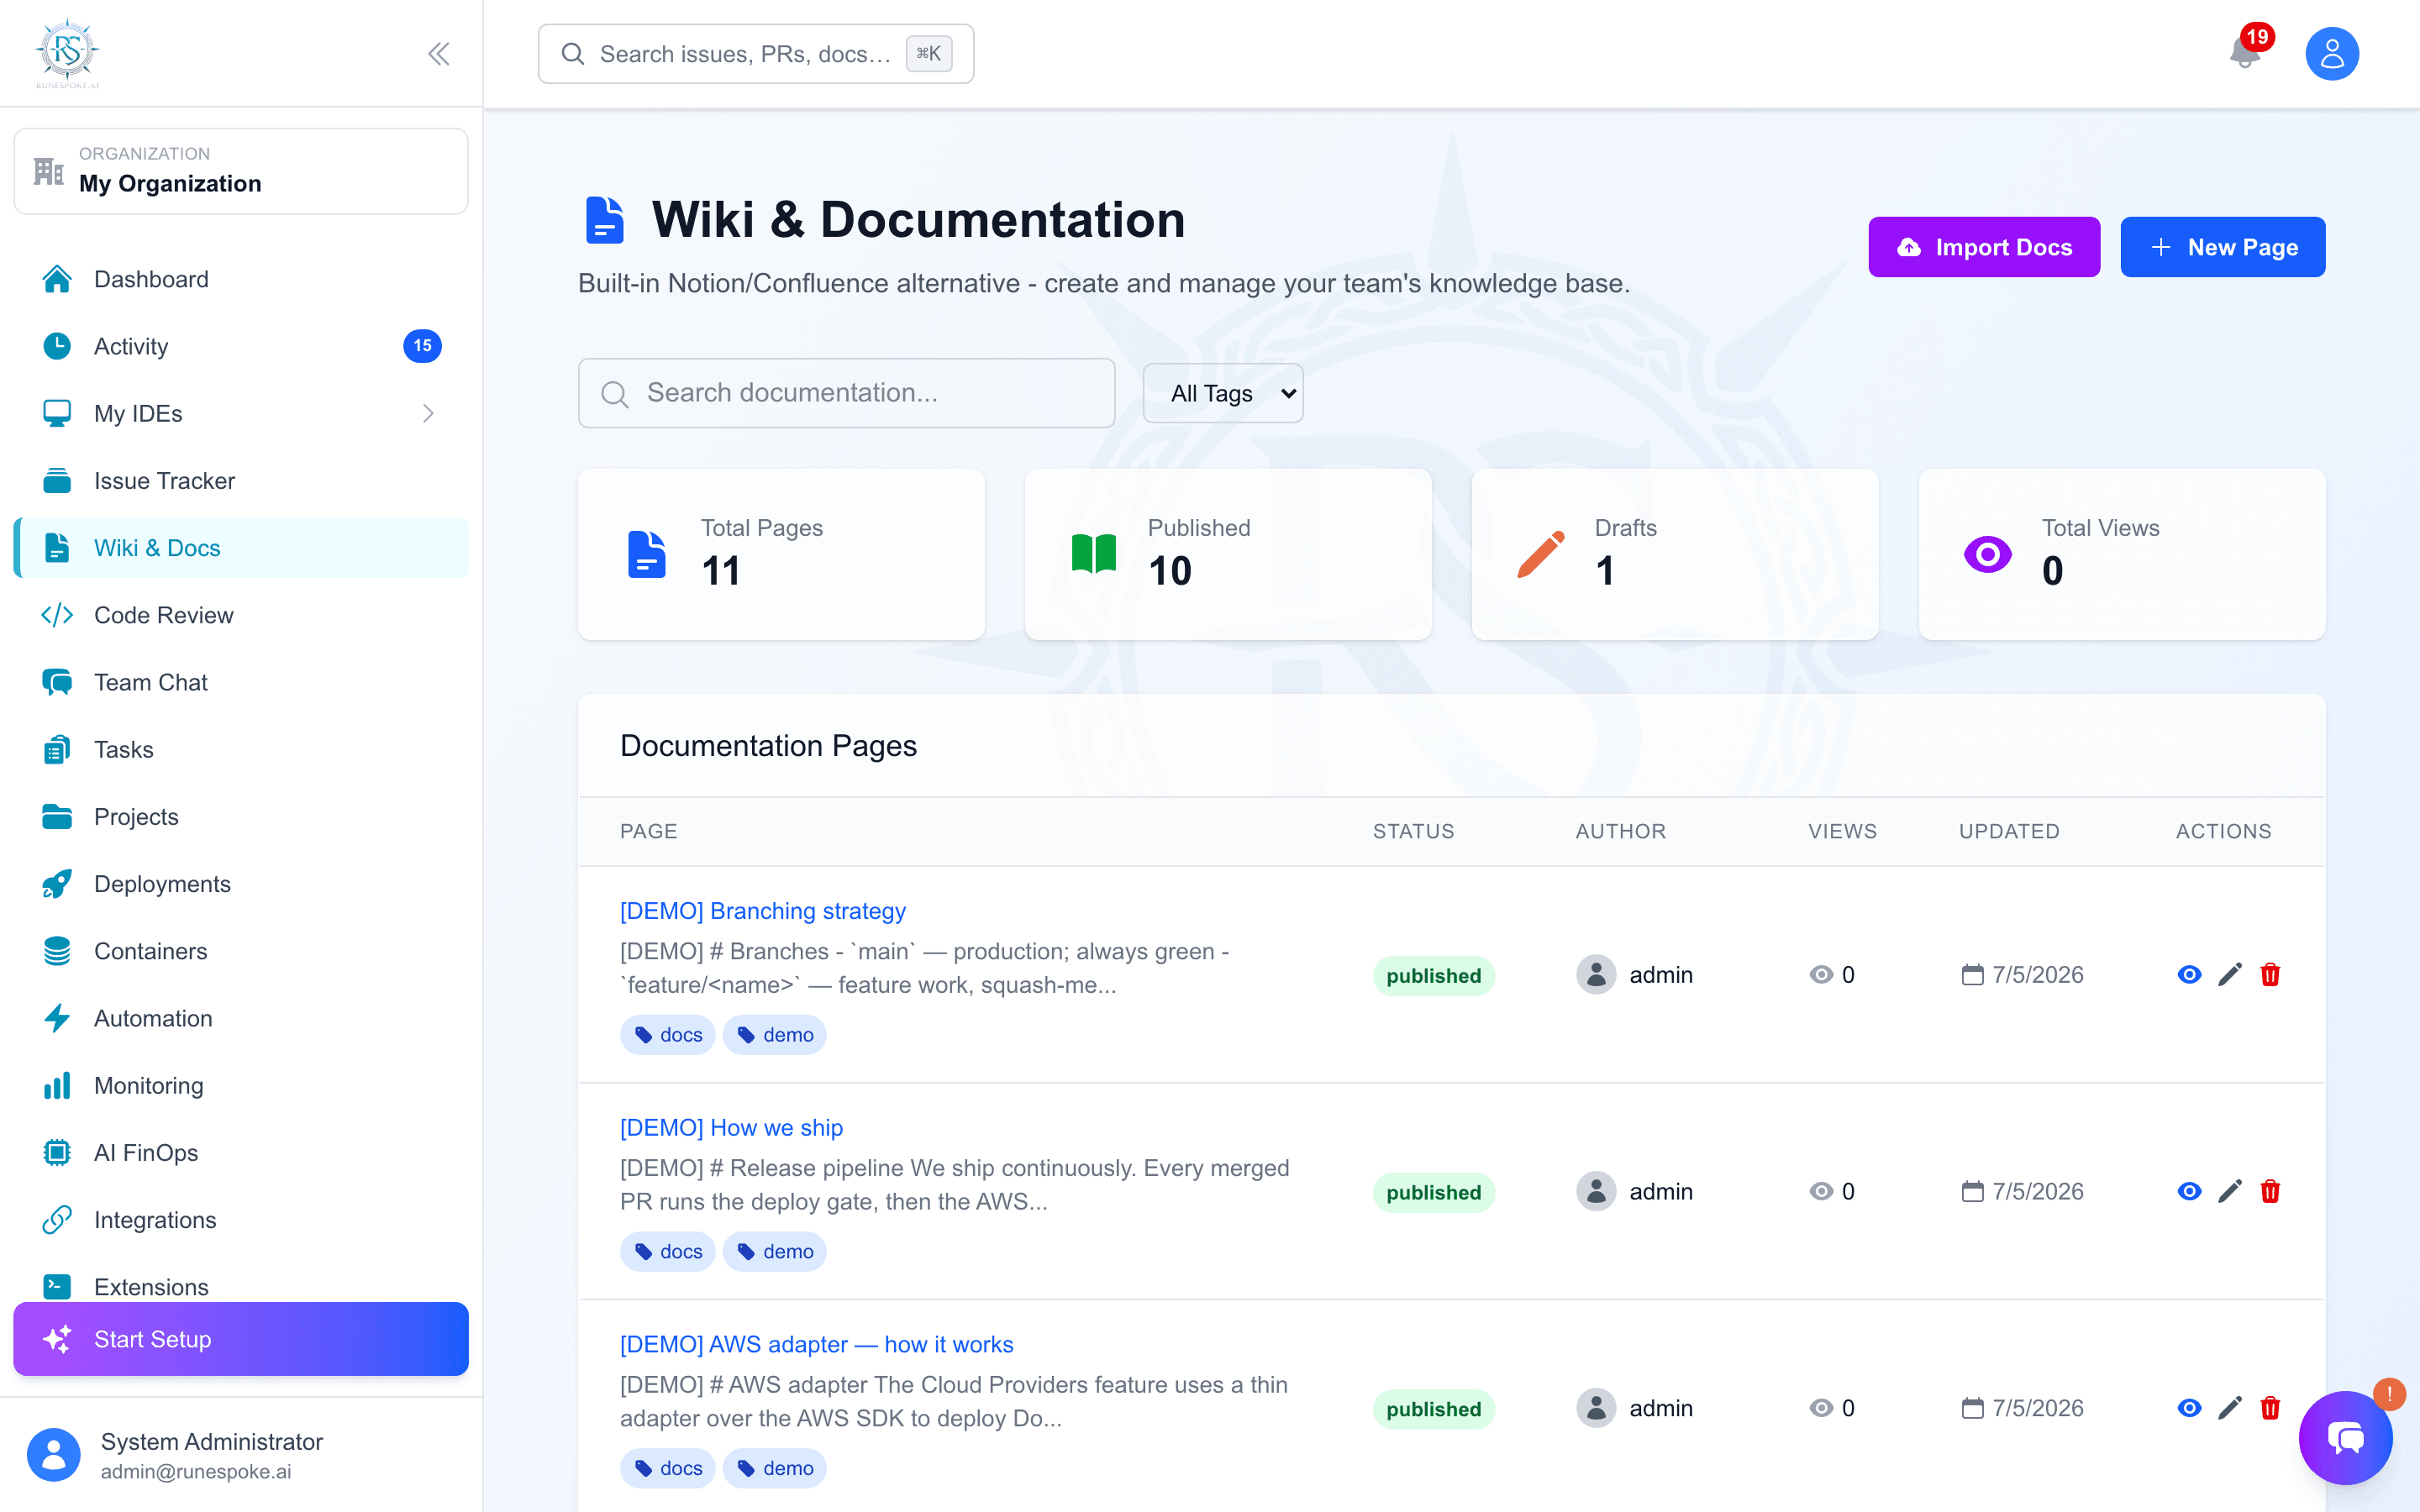
Wiki and Docs

Edit, version, restore

Every wiki edit is snapshotted, so you can browse history and restore an old version reversibly.

  1. Open a wiki page and switch to the Edit tab to change the content in the markdown editor.
  2. Add an optional revision summary and save. RuneSpoke snapshots the previous state before writing your change.
  3. Open the History tab to see every past revision, newest first.
  4. Select a revision to preview its full markdown.
  5. Restore a revision to roll the page back. The current state is stashed first, so a restore is itself reversible.

Page hierarchy

Nest pages under parent pages to build a real handbook instead of a flat list.

  1. Create or open a wiki page.
  2. Set its parent page to place it under another page in the tree.
  3. Browse the nested hierarchy of published pages in the wiki navigation.
  4. Note that a page with children cannot be deleted until its children are moved or removed.

Templates

Start from a built-in template instead of a blank page.

  1. Create a new wiki page.
  2. Choose a starter: blank, guide, technical spec, or process doc.
  3. The page pre-fills with the template structure.
  4. Edit the content and publish when it is ready.

Admin & security

Role-based access control, the audit log, and the credentials vault.

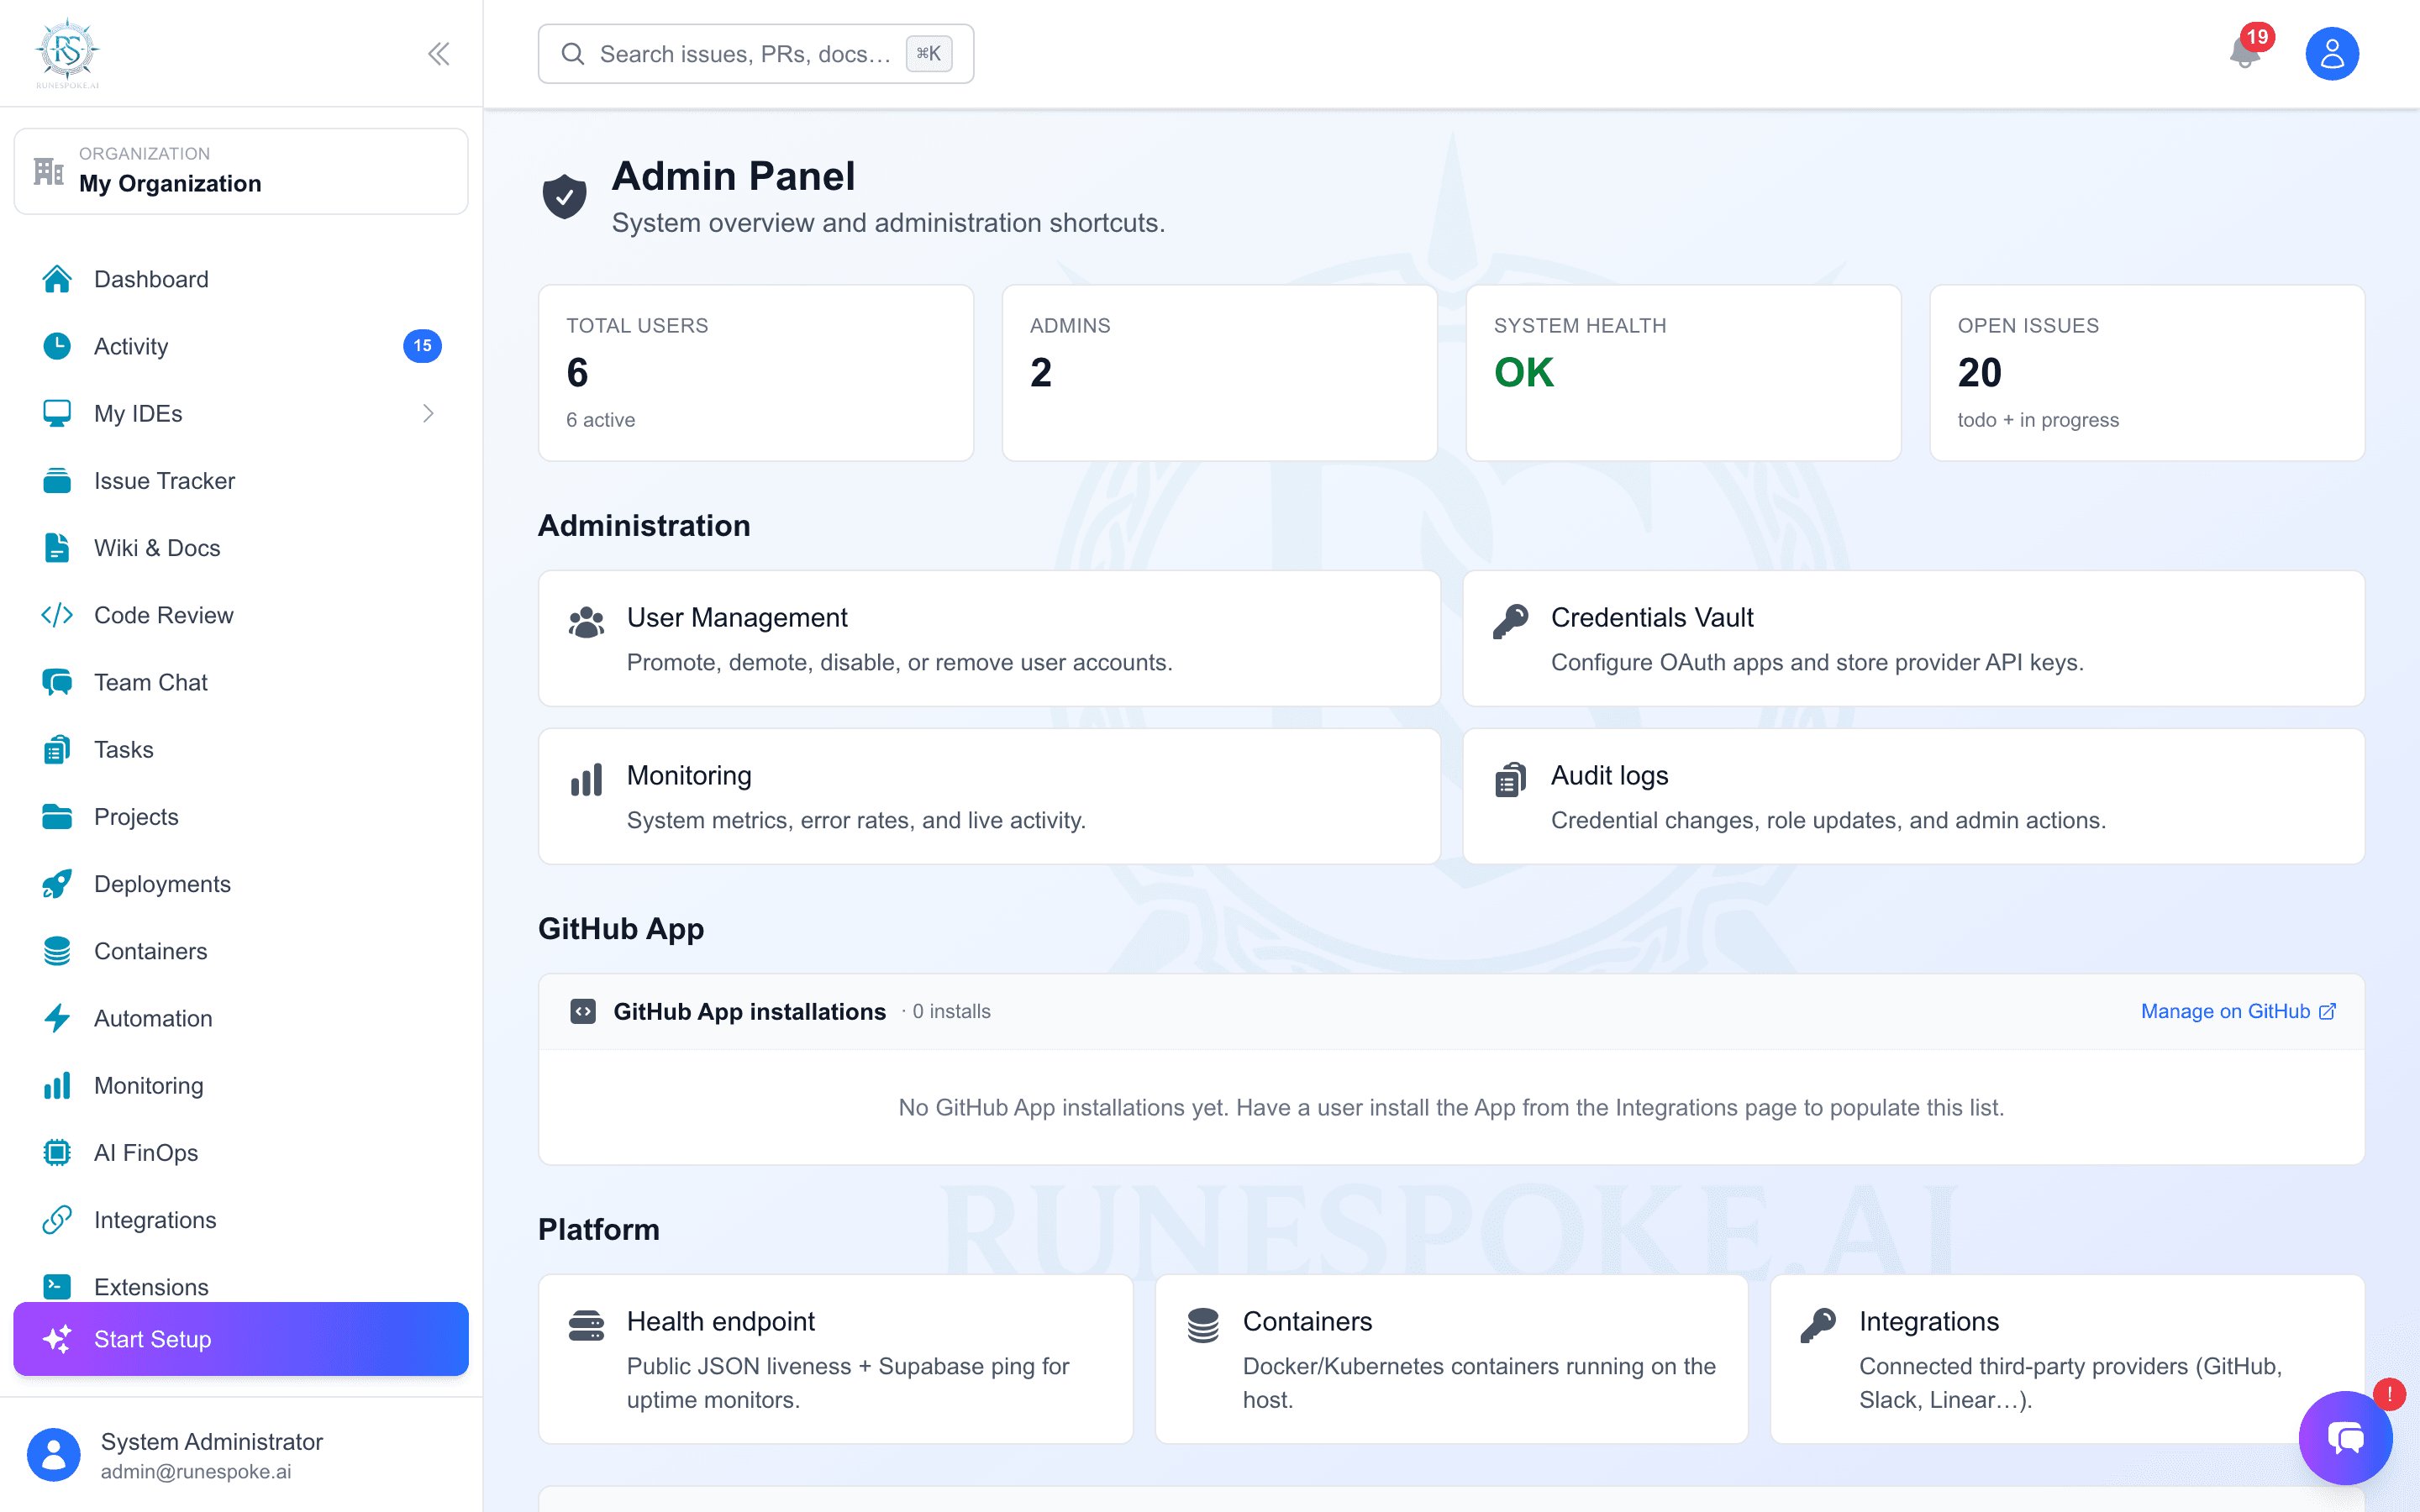
Admin console

Roles, permissions, groups

Control who can do what with system roles, fine-grained permissions, and custom groups.

  1. Open the RBAC admin area.
  2. Assign each user a system role as their baseline level of access.
  3. Grant or restrict fine-grained permissions to shape exactly which actions and surfaces are available.
  4. Create custom groups to bundle permissions for a team and assign users to them.
  5. Remember that sensitive actions are gated at the API layer, not only in the UI.

Audit Log

An admin-only timeline of state changes across the platform, aggregated from existing tables.

  1. Open the Audit Log (gated by the RBAC admin permission).
  2. Review deploys, PR merges, and reviews.
  3. Review group membership changes and credential writes.
  4. Use it to attribute high-impact actions, including any force-merge overrides, to a person and time.

Credentials Vault

Encrypted storage for AI provider keys, OAuth tokens, and cloud credentials. Bring your own AI, stored safely.

  1. Add a credential (an AI key, integration token, or AWS key pair) through the vault.
  2. The secret is encrypted at the application layer with AES-256-GCM before it is stored.
  3. Secrets are decrypted only at the moment a request needs them, and are never shown in plaintext in the UI.
  4. Rotate a credential in place without dropping existing connections.

Add a user

Invite a teammate by email during the closed beta. The invite link is time-limited.

  1. As an admin, mint an invite for the teammate, optionally binding it to their email.
  2. RuneSpoke sends the invite through AWS SES.
  3. The teammate follows the link to create their account. The link expires after seven days.
  4. Assign them a role and any groups in the RBAC admin area once they join.

Productivity surfaces

Search, activity, notifications, and comments: the surfaces that make the platform feel alive.

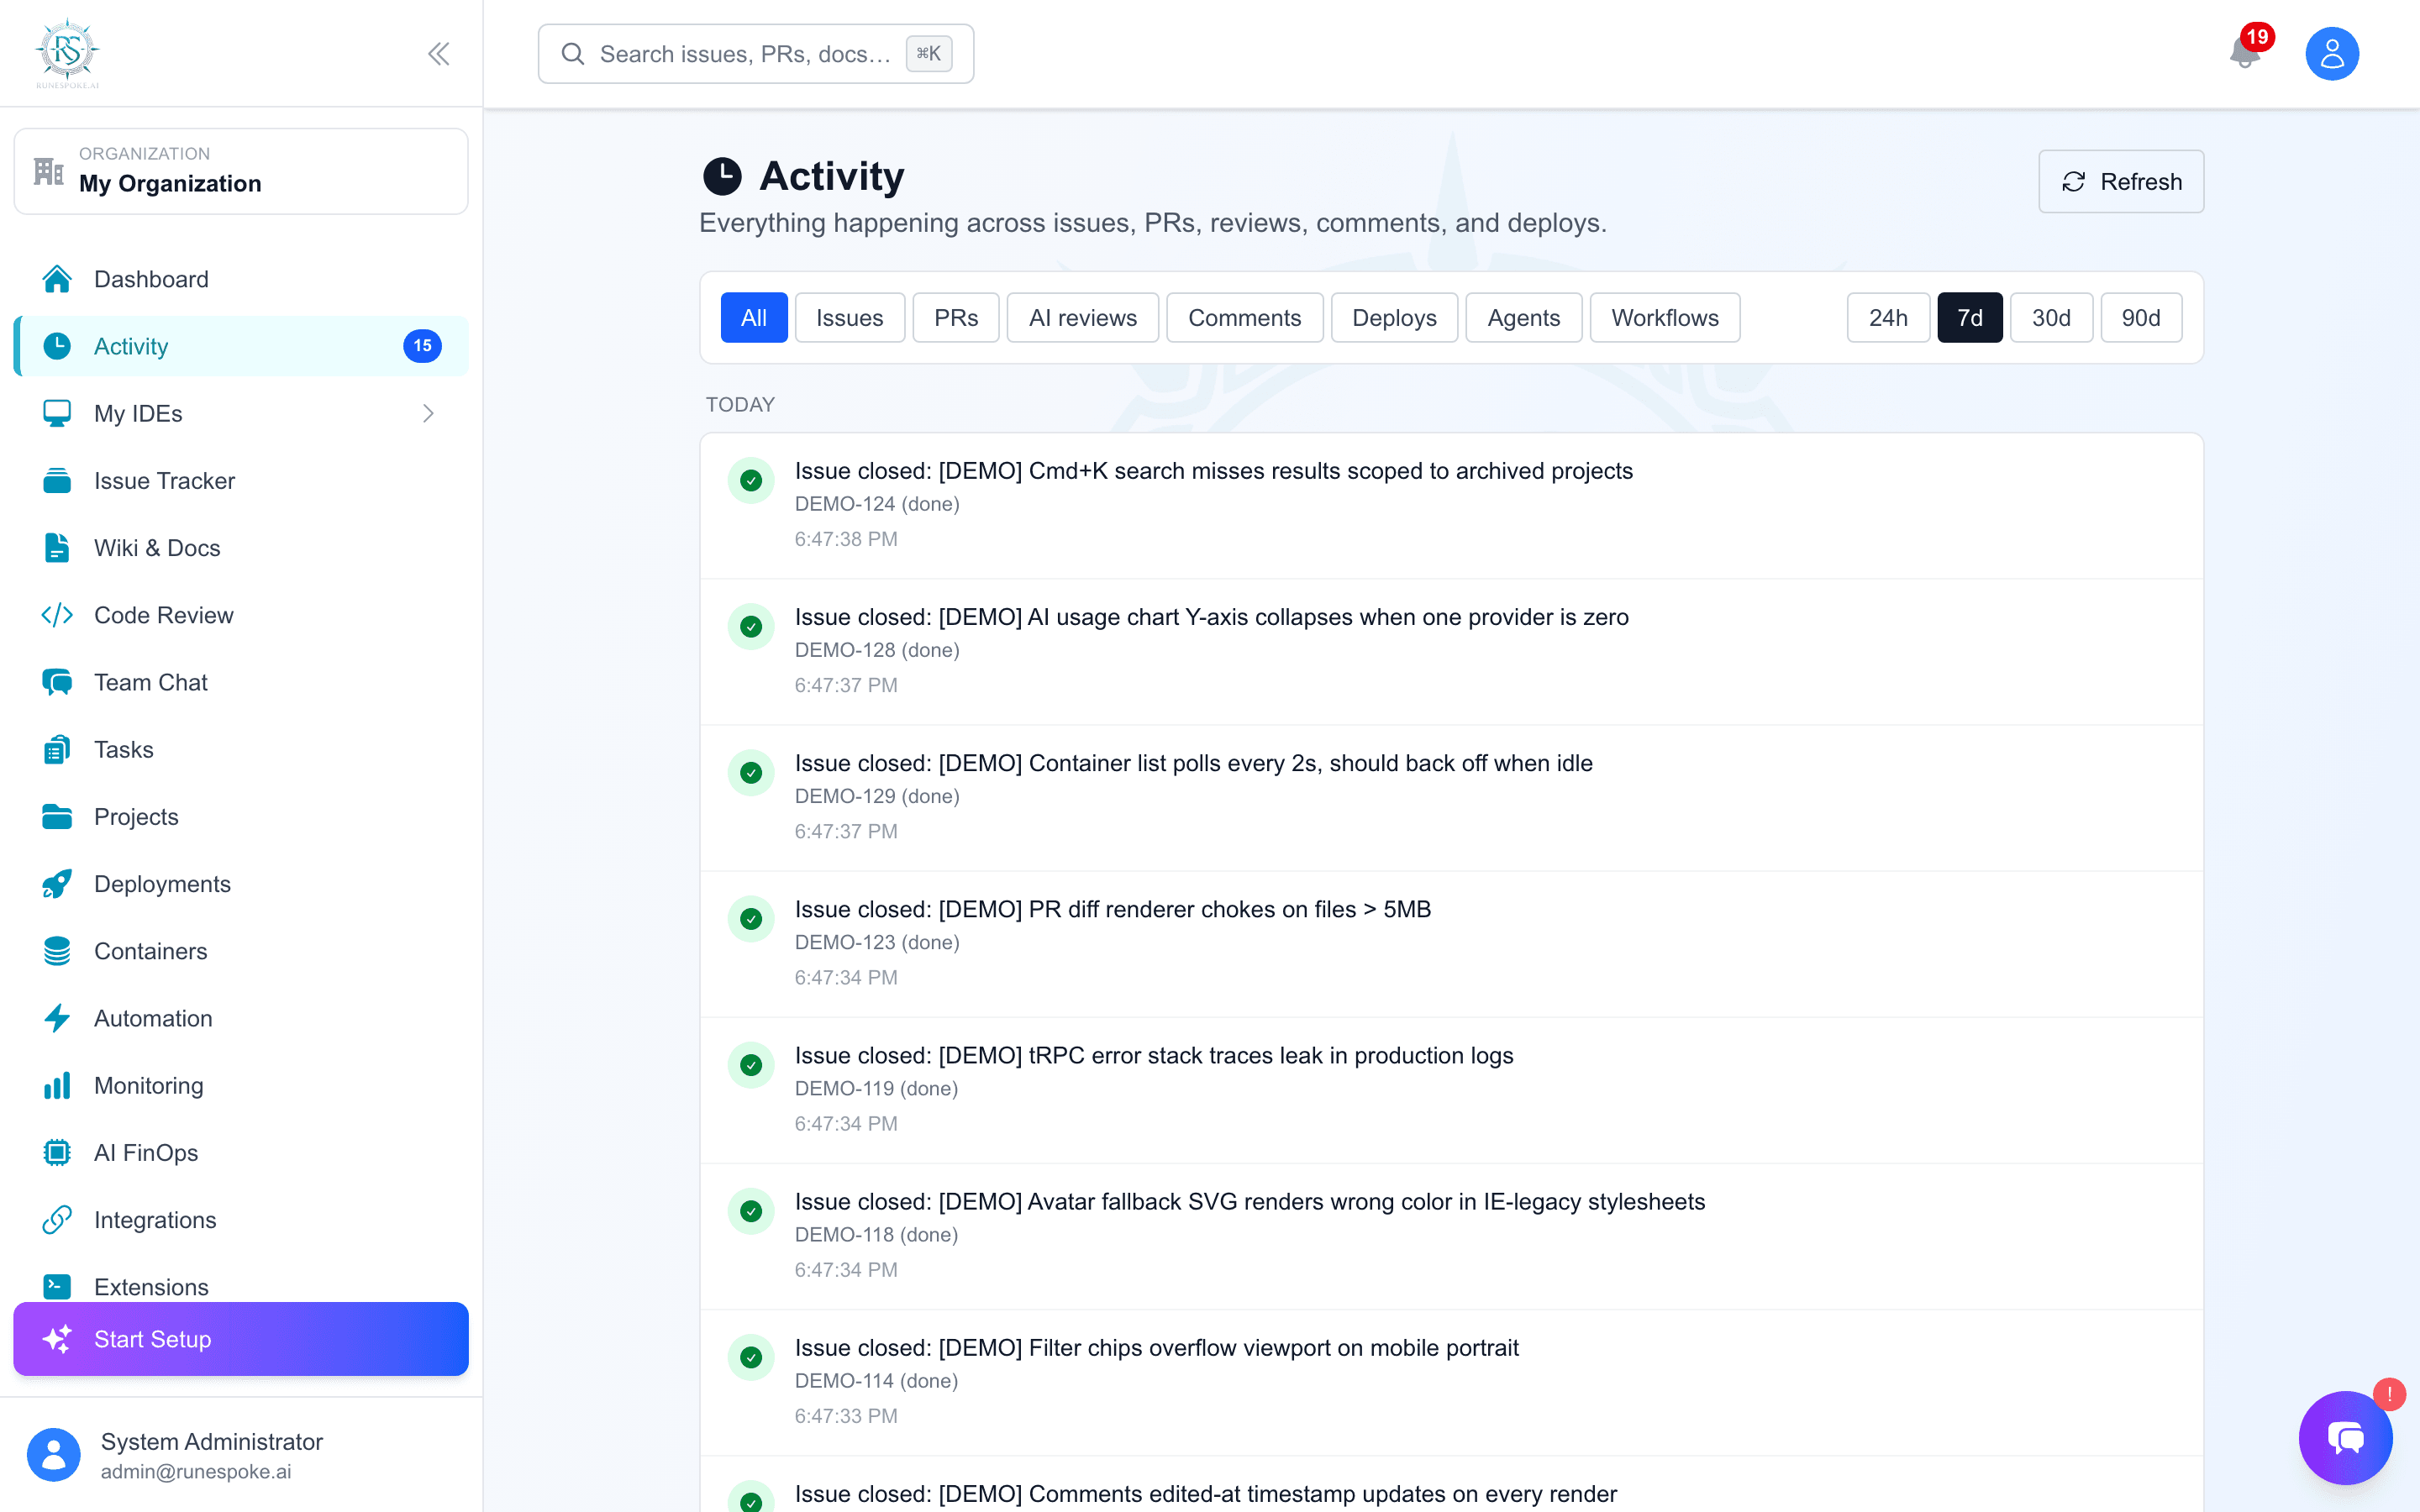
Activity feed

Activity feed

A newest-first timeline of everything happening across the platform, updating live.

  1. Open the Activity feed.
  2. Scan the newest-first stream of issue, PR, review, comment, and deploy events.
  3. Filter by event kind or by how recent the events are.
  4. Leave it open: it refetches automatically as new events land.

Notifications

A per-user in-app inbox for the events that concern you directly.

  1. Watch the bell icon: a red dot means you have unread notifications.
  2. Open the dropdown to see assignments, reviews, merges, and deploys addressed to you.
  3. Click a notification to jump to the related issue, PR, or deploy.
  4. Mark one, or all, as read to clear the count.

Comments

Threaded comments on issues and PRs that notify the right watchers.

  1. Open an issue or pull request and add a comment.
  2. Watchers are notified automatically: the creator, assignee, reviewers, and prior commenters, minus yourself.
  3. Edit or delete your own comment as needed (admins can moderate any comment).
  4. Notifications route through the same in-app inbox as everything else.

Need something that is not here?

Browse the full documentation for reference material, or start with the Quick Start to go from zero to a deployed app.